Starting a New Project
This section teaches you how to start a Design Master Photometrics project.
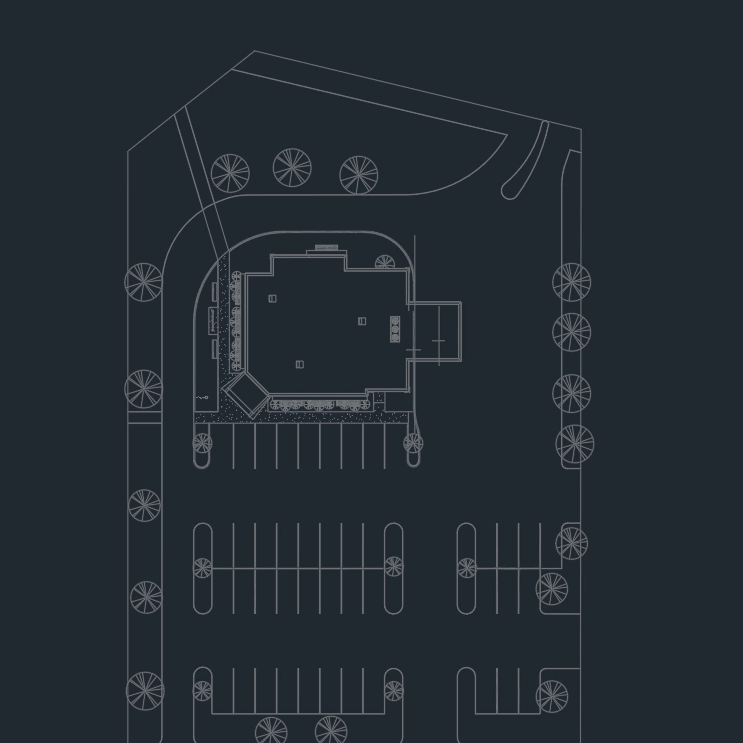
Open drawing e-site. Your drawing should look like this:
Run the Start New Photometrics Project command. The Start New Photometrics Project dialog box will open.
Ribbon: DM Photometrics→Utilities→ ![]() Start New Photometrics Project
Start New Photometrics Project
Pulldown Menu: DM Photometrics→Start New Photometrics Project
You do not need to change any settings in the dialog box. All of the default values are fine for starting a project. In future projects, you might make changes these values to use different customization settings.
Press the button. Design Master Photometrics will initialize the project.
A database file named dm_elec.dm will be created in the same folder as the drawing. All of the information about your project will be stored in this database file. All of the drawings in the folder will use the same database.
If you need more drawings in your project, create them in the same folder as the drawing and database. All of the drawings in the folder will use the same database file. The light fixture project schedule and quantity counts will be shared across all of the drawings.
When you want to start another project, create a drawing file in a new folder and run the Start New Photometrics Project command again. That will create another database file in the new folder that will be a separate project.
Do not create the drawing in a folder that already has a project started. The two drawings in the same folder will be seen by Design Master Photometrics as a single project. The light fixture schedule and quantity counts will be shared across both drawings.
Imperial and Metric Units
These tutorials will have you designing this project using Imperial units: feet, inches, and foot-candles.
For your own projects, you can use either Imperial or metric units. See the Metric Units in DM Photometrics article in the knowledge base for more information.