Inserting a Calculation Area
This section teaches you how to insert a calculation area on your drawing. The calculation area defines where illuminance levels will be calculated on the drawing.
-
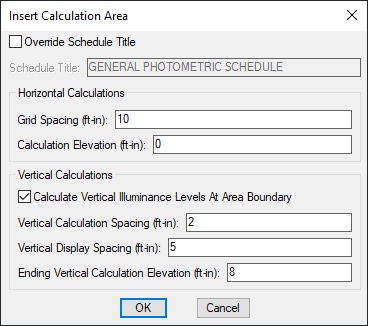
Run the Insert Calculation Area command. The Insert Calculation Area dialog box will open.
Ribbon: DM Photometrics→Calculation Areas→ Insert Calculation Area
Pulldown Menu: DM Photometrics→Insert Calculation Area -
Make sure ☐ Override Schedule Title is not checked, Grid Spacing is set to 10, and Calculation Elevation is set to 0.
-
Check the ☐ Calculate Vertical Illuminance Levels At Area Boundary box.
-
Set Vertical Calculation Spacing to 2.
-
Set Vertical Display Spacing to 5.
-
Press the button. You will be prompted to specify the boundary of the calculation area.
-
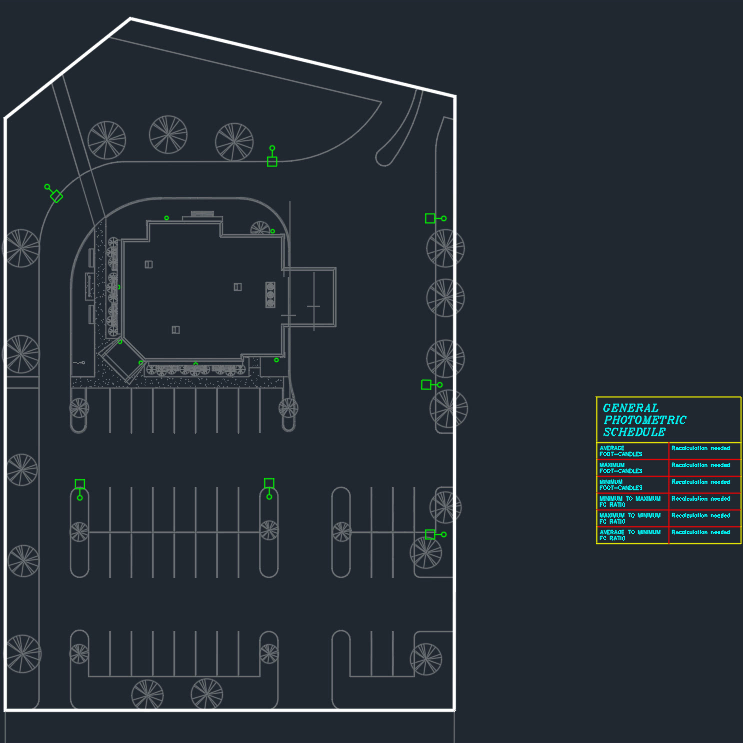
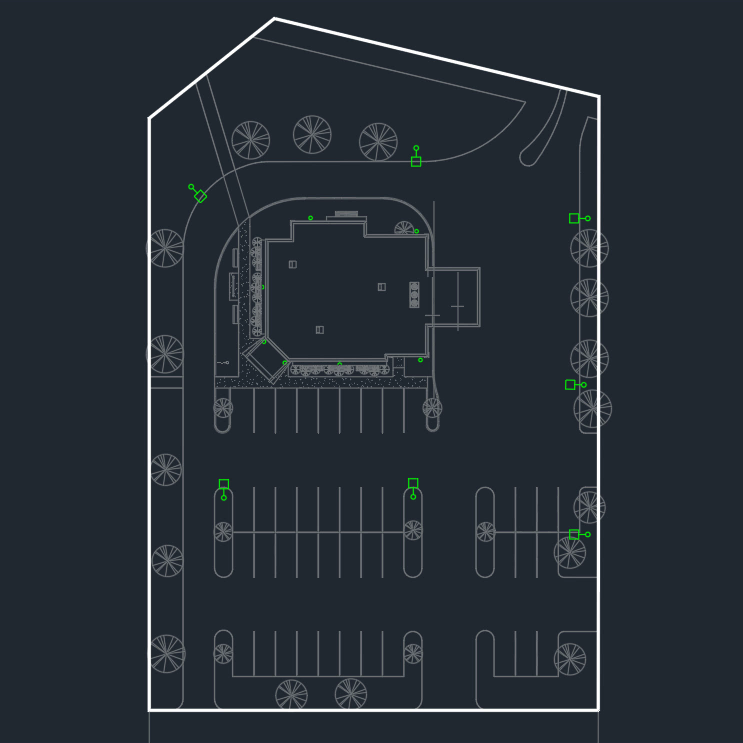
Draw the boundary surrounding the parking lot as shown below. Press ENTER to finish drawing the calculation area.
- Next, you will be prompted to insert the calculation schedule for the area. Insert it to the right of the area as shown below.