Options
The Options commands allow you to customize a variety of settings that affect the calculations in your project and appearance of your drawings.
See the General Customization Commands section for more information about how the Edit Project List, Edit Standards List, Copy Project List to Standards, and Copy Standards List to Project commands work.
To edit the options project list, go to
Ribbon: DM Photo: Customization→Project Customization→ ![]() Options
Options
Pulldown Menu: DM Photometrics→Customization→Options→Edit Project List
To edit the options standards list, go to
Ribbon: DM Photo: Customization→Master & Standards Customization→ ![]() Options
Options
Pulldown Menu: DM Photometrics→Customization→Options→Edit Standards List
Design Master Photometrics Options Dialog Box
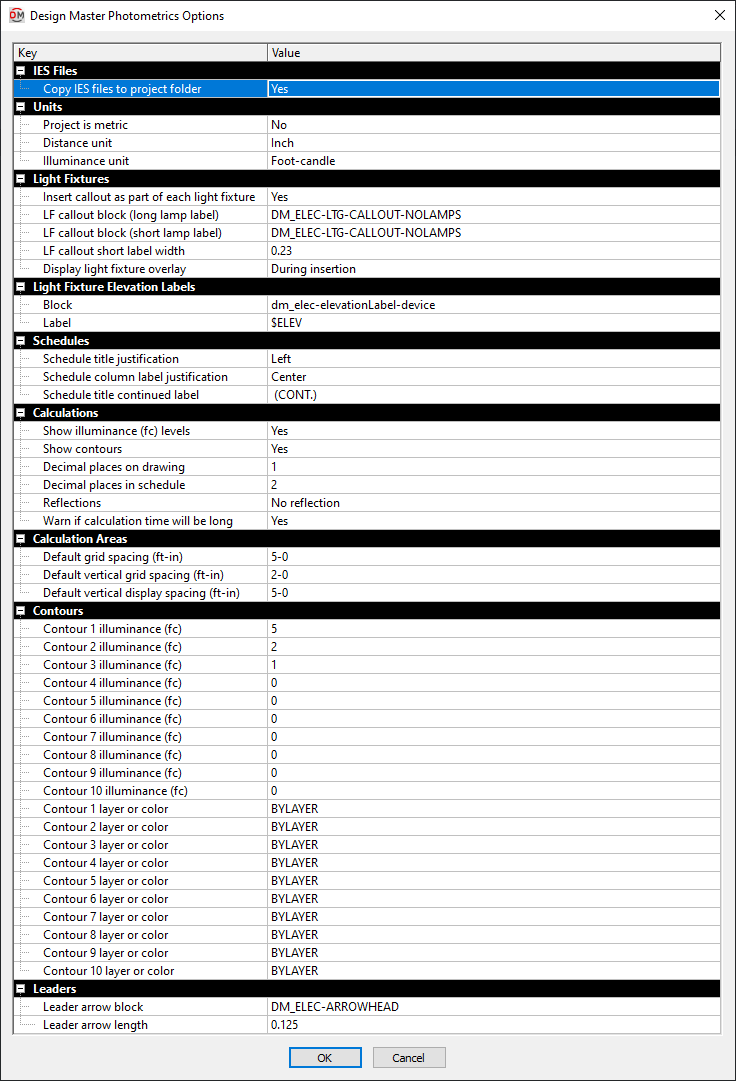
The Design Master Photometrics Options dialog box contains a list of all of the options and their current settings. The options are arranged in groups in the list.
Editing a Setting
To edit an option setting, select the Value ☰ in the list and enter a new value.
Press the button to save your changes.
If the change you made to the options does not immediately appear on the drawing, run the Coordinate Drawings and Database command. This command will update the drawing to use the new settings you have specified.
IES Files
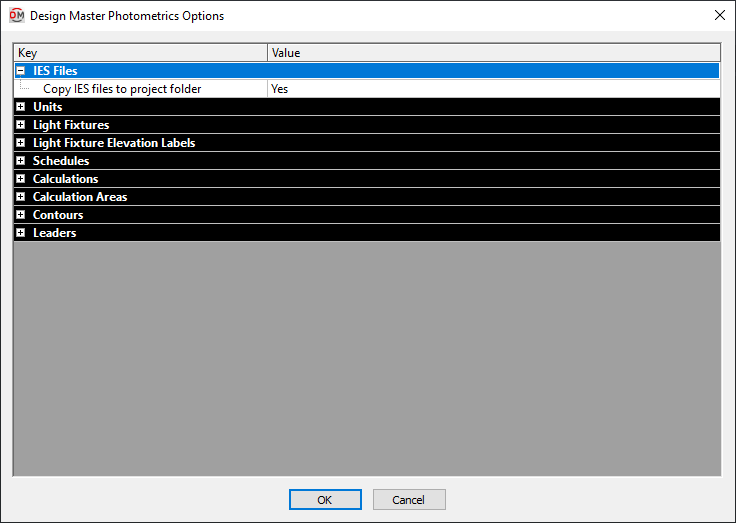
- Copy IES files to project folder ▾ Whether IES files loaded into the Light Fixture Project Schedule are copied to the project folder.
Units
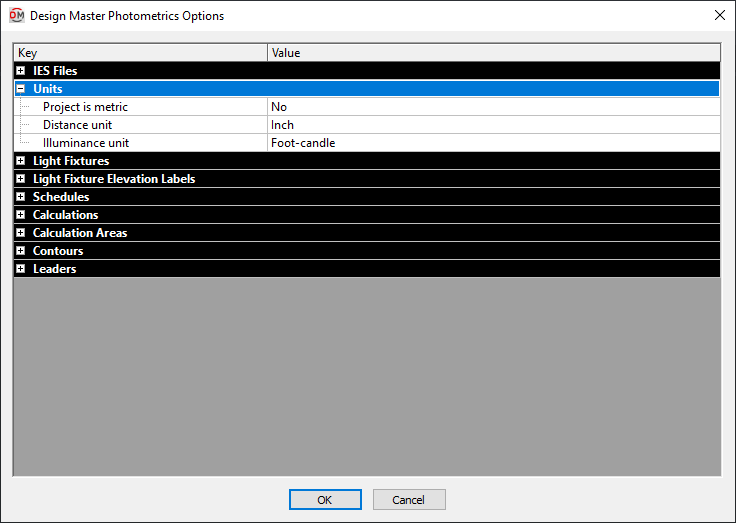
Most of these options set the default values when running the photometrics calculations. See the Calculate section for more information about these settings.
- Project is metric ▾ Whether some distances and elevations are measured and displayed using meters or feet and inches. See the Metric Units in DM Photometrics article in the knowledge base for more information.
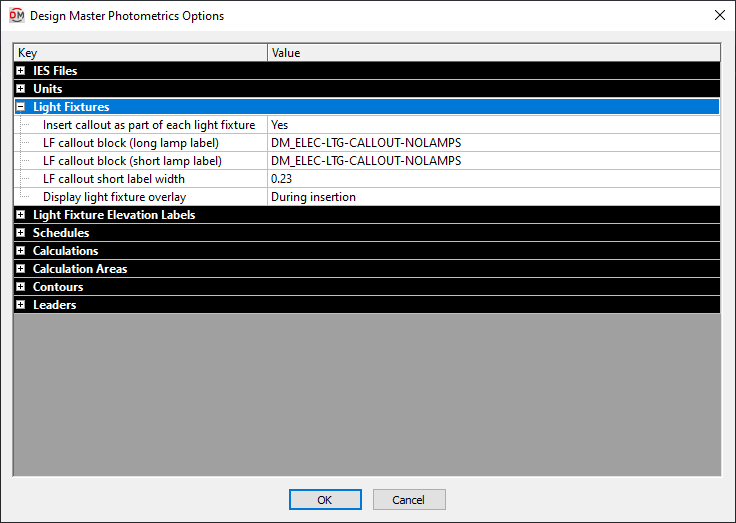
Light Fixtures
-
Insert callout as part of each light fixture ▾ Whether a light fixture callout note is automatically inserted as part of each light fixture on the drawing.
-
LF callout block (long lamp label) The block used when you insert a light fixture callout. It is used when the lamp label is wider than the value specified in LF callout short label width.
-
LF callout block (short lamp label) The block used when you insert a light fixture callout. It is used when the lamp label is smaller than the value specified in LF callout short label width.
-
LF callout short label width This width is used to determine which light fixture callout block is inserted for a light fixture.
-
Display light fixture overlay ▾ This specifies when a light fixture overlay will be displayed on non-plotting layers.
- Never Light fixture overlays will never be displayed.
- During Insertion The overlay will be displayed only while the light fixture is being inserted. Once the light fixture is inserted, the overlay is no longer displayed. To view the overlay again, you must insert a new fixture.
- Always The light fixture overlay will always be displayed.
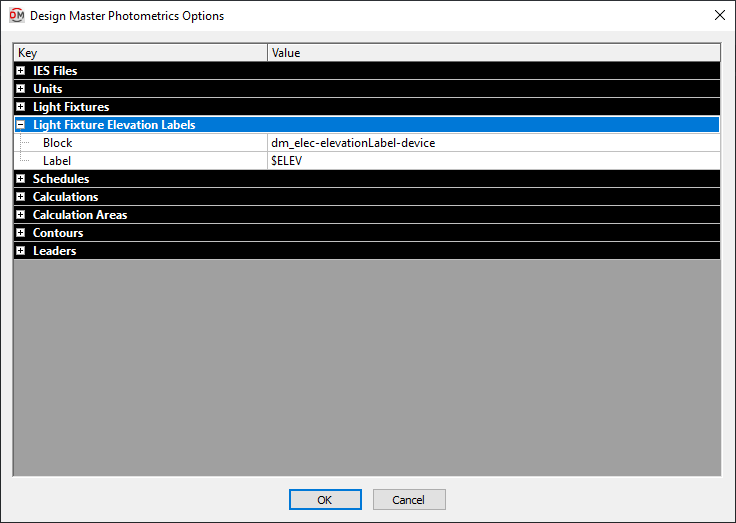
Light Fixture Elevation Labels
-
Block The block used for the elevation label when the Insert Elevation Label command is used.
-
Label The text that is used to display the elevation in the label. $ELEV is replaced with the elevation.
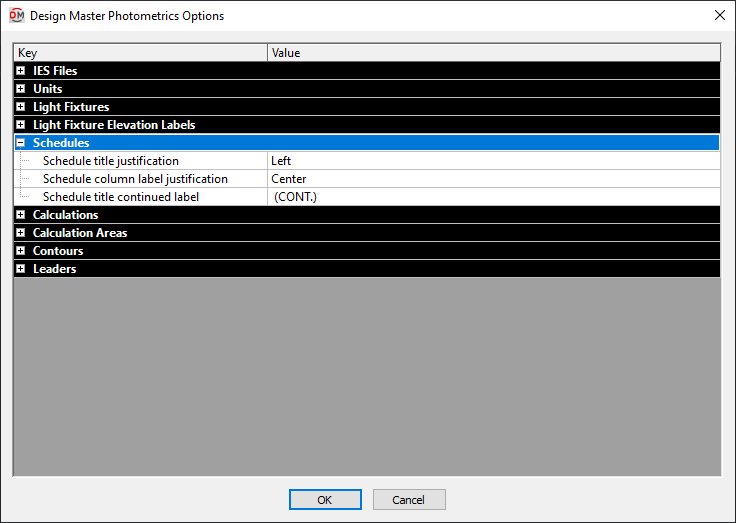
Schedules
-
Schedule title justification ▾ Specifics whether the text in the title is left- or center-justified.
-
Schedule column label justification ▾ Specifies whether the text in the column label is left- or center-justified.
-
Schedule title continued label The text in this option is added to the schedule title when the schedule is broken into multiple sections.
When inserting schedules, there is an option to set a maximum height for the schedule. If the schedule exceeds this height, the schedule is continued in a second section next to the first. The title of the second and following sections is the schedule title plus the text in the Schedule title continued label option.
Calculations
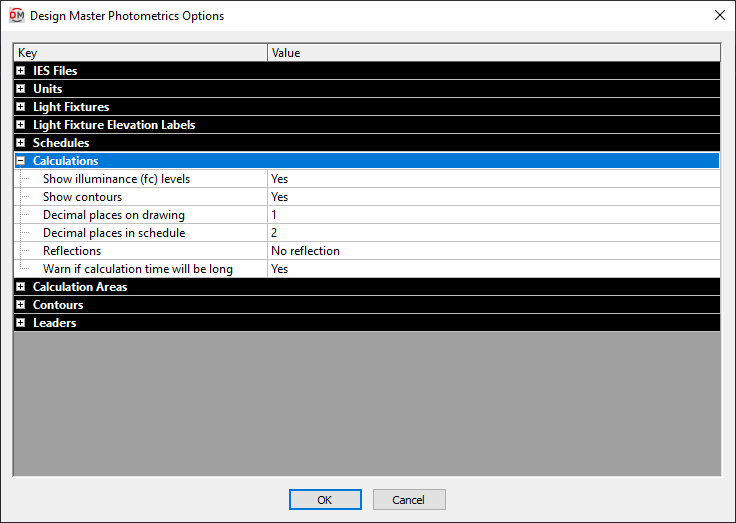
Most of these options set the default values when running the photometrics calculations. See the Calculate section for more information about these settings.
- Warn if calculation time will be long ▾ Whether a warning will be displayed before calculating photometrics for an area with a high number of calculation points or solids.
Calculation Areas
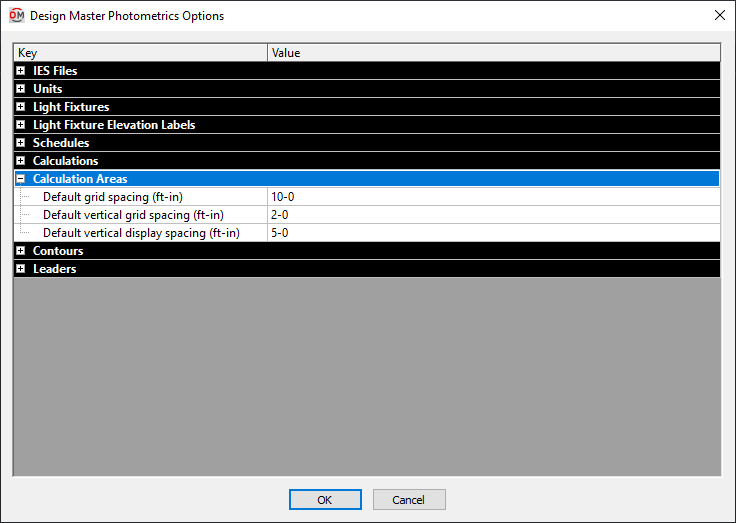
These options set the default values when creating a new photometric calculation area or line. See the Calculation Areas section for more information about these settings.
Contours
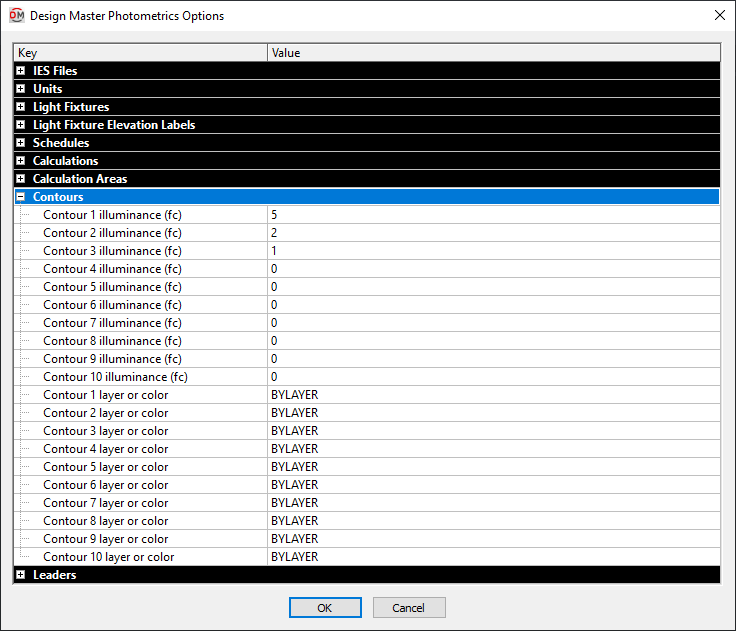
These options set the default values for contours when running the photometrics calculations. See the Calculate section for more information about these settings.
Leaders

-
Leader arrow block The block used for leader arrowheads.
-
Leader arrow length The length of the leader arrowhead.