Base Units & Photometrics Calculations
When I run the photometrics calculation for an area, the data points are more condensed/spread out than they should be, or the calculations take a long time to complete. What causes that?
This usually happens when the base unit for the calculation is not set correctly. In the Calculate Photometrics dialog box, the Distance Unit ▾ field can be set to Inch, Foot, Millimeter, Centimeter, or Meter.
This setting must match the base unit for your drawing.
Base Units Match
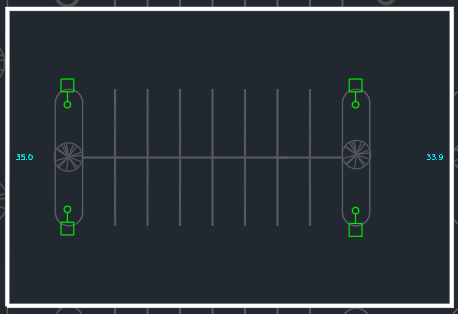
When both the drawing and the calculation use the same base unit, the results are as expected. In the example shown below, the grid spacing for the calculation area is set to 10 feet and the data points appear every 10 feet.
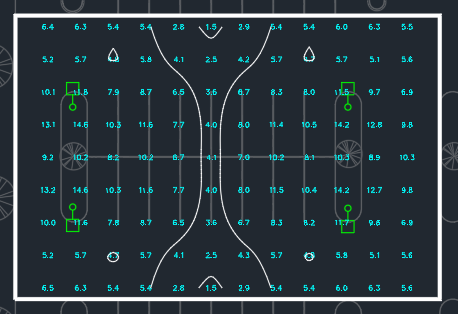
Calculation Uses Base Unit Larger Than Drawing
If Distance Unit ▾ is set to a larger unit, such as Foot, but your drawing is measured in a smaller unit, such as inches, the data points will be too condensed, as shown below. In this example, the grid spacing is set to 10 feet, but because the calculation treats each drawing unit as being 12 times larger, data points appear every 10 inches.
The calculation will take significantly longer when the Distance Unit ▾ is set larger than the drawing units. If you're not sure whether Distance Unit ▾ is set correctly, cancel the calculation, change Distance Unit ▾ to a smaller unit, and run the calculation again.
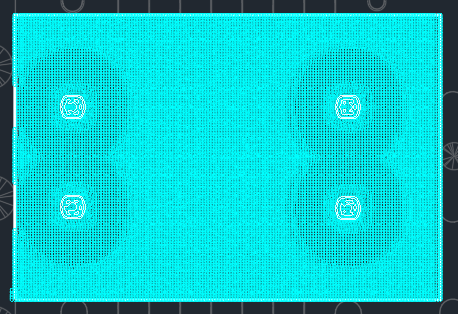
Calculation Uses Base Unit Smaller Than Drawing
If Distance Unit ▾ is set to a smaller unit, such as Inch, but your drawing in a larger unit, such as feet, the data points will be too spread out, as shown below. In this example, the grid spacing is set to 10 feet, but because the calculation treats each drawing unit as being 12 times smaller, data points appear every 120 feet.
How to Find Your Base Unit
If you're not sure which base unit your drawing uses, you can find out using standard AutoCAD commands:
-
Enter UNITS at the command line.
-
Make a note of the current Length Type ▾ setting, then change it to Decimal and press the button.
-
Enter DIST at the command line, then use the command to measure a dimension on the drawing that you know, such as the width of a door or parking space.
-
(Optional) If you changed the Length Type ▾ earlier, run the UNITS command again to return it to its previous setting.
Use the distance measured in Step 3 to determine the base unit for your drawing. The following list uses the approximate width of a door as an example:
- Inch: 36 units
- Foot: 3 units
- Millimeter: 900 units
- Centimeter: 90 units
- Meter: 0.9 units